How to: build your first ChatGPT app

In this tutorial, I’ll walk you through building a simple todo list app inside ChatGPT. You’ll see how to wire tool endpoints, widget UIs, and deploy it so a user in ChatGPT can see and interact with your UI. I’m starting with a Gadget template that handles ChatGPT’s OAuth and MCP (model context protocol) server setup so I can just focus on building my data models, actions, widgets, and tool calls that power my app.
This is still very early after the OpenAI Apps SDK release! This post will be updated as we continue to explore the SDK’s APIs.
To build apps for ChatGPT, you need to be on a paid plan, and OpenAI developer mode needs to be enabled.
If you want to skip the build and go straight to the end result, you can fork the app here:

You can watch a video of a similar build here. We have since updated our starter template so we build in React, support multi-tenancy, use Streamable HTTP for our MCP server, and use the Gadget API client to send requests and run business logic (adding todos is big business), so the steps will be a bit different between this written tutorial and the video:
The big picture
Before we jump into code, here’s how all the pieces will fit:
- Your Gadget app is where your data, business logic, and widget UI live.
- You expose tool actions via the MCP protocol (such as <inline-code>listTodos<inline-code>) that ChatGPT can call.
- You define resource endpoints (React components packaged as UI) that ChatGPT will call through an associated tool to fetch and embed inside the chat.
- ChatGPT sees your connector (you register it via Apps & Connectors), knows your tools and resources, and can call them or embed them.
- ChatGPT can call your tool endpoints (via window.openai.callTool), set and get widget state, and trigger follow-up messages.
- The Gadget API client is also used to make requests directly to your Gadget backend, avoiding tool calls when running business logic.
A user in ChatGPT can ask “Show me my todos,” see the UI embedded, add or complete tasks, and those changes will make sure of ChatGPT’s built in widget storage that acts as a chat-specific cache, and they will be persisted in your database for use in additional chats.
Building a todo list for ChatGPT
Here’s how to build it. I’ll walk you step by step, and drop code snippets so you can follow along.
1. Fork the Gadget template which comes with auth, an MCP server, and a sample widget already set up.
2. Connect your app in ChatGPT in Settings > Apps & Connectors.
- Your app URL should be of the format <inline-code>https://<app-name>--<environment>.gadget.app/mcp<inline-code>
- For example, <inline-code>https://my-todo-list--development.gadget.app/mcp<inline-code>
3. Install your app in ChatGPT. You can choose to use OAuth authentication, which is built in to the template, or install with no authentication to use the widget you will build.
4. After installing, you can start a new chat, add your app as a source in the chat, and ask ChatGPT to "Use my app to say hello". A “hello, world” widget should print out in the chat!
Add a todo data model
This app already has an MCP server set up. It is serving up the widget via a <inline-code>sayHello<inline-code> tool call made to Gadget from ChatGPT. All the boilerplate setup is handled, all that is needed now is a data model for your todos, a widget to render in ChatGPT, and the tool actions required to tie data and UI together.
1. Add a <inline-code>todo<inline-code> model to your Gadget app at <inline-code>api/models<inline-code>.
- Add an <inline-code>item<inline-code> field, with the <inline-code>string<inline-code> field type.
- Add an <inline-code>isComplete<inline-code> field, with the <inline-code>boolean<inline-code> field type, with a default value of <inline-code>false<inline-code>.
The model will also have an <inline-code>id<inline-code> field, <inline-code>createdAt<inline-code> and <inline-code>updatedAt<inline-code> timestamps, and it will be related to the <inline-code>user<inline-code> model.
Update your MCP server
1. Add tool actions to the MCP server. Copy and paste the following into <inline-code>api/mcp.ts<inline-code>:
MCP server details
- The code in <inline-code>api/mcp.ts<inline-code> defines your MCP server and the tools calls that will be made to load your todo list widget, add todos, and mark todos as completed.
- <inline-code>structuredContent<inline-code> defines what will be returned by the action. Both both of these actions, the single created or updated todo is returned. The current todo widget is not optimistically adding todos to the UI, it waits for the created todo to be returned via <inline-code>structuredContent<inline-code>
- The <inline-code>listTodos<inline-code> tool call uses the <inline-code>api<inline-code> client to read a page of todos and return them as <inline-code>structuredContent<inline-code>. (Pagination is built into the API, and could be implemented with follow up requests using the Gadget API client.)
- The <inline-code>_meta<inline-code> definition is important here. <inline-code>"openai/outputTemplate": "ui://widget/widget.html"<inline-code> associated this tool call with the URI used for the todo resource defined on the MCP server. This is what allows ChatGPT to fetch your widget.
- Finally, the <inline-code>todos<inline-code> resource is where your widget code and the URI referenced by the tool action are defined. This combination of a resource and a tool call is what is required to render a widget in ChatGPT.
A <inline-code>__getGadgetAuthTokenV1<inline-code> tool call is used to fetch the OAuth token from ChatGPT. The Provider set up in <inline-code>web/chatgpt-widgets/root.tsx<inline-code> makes this tool call under the hood, adding the token as an <inline-code>Authorization: Bearer<inline-code> header to requests made using the API client from within the iframe. This means you can run backend logic and make authenticated requests using the API client (in <inline-code>web/api.ts<inline-code>) instead of making tool calls.
Time to update the widget code!
Build your frontend widget
1. Add a <inline-code>web/chatgpt-widgets/TodoList.tsx<inline-code> file to your project and paste in the following code:
Your widget is rendered in an iframe, and additional APIs have been added to <inline-code>window.openai<inline-code> that let you do things like read data passed into the widget from the initial tool call, persist UI state, and make additional tool calls.
We've included some useful hooks and type definitions from ChatGPT's sample project to make it easier to interact with these APIs in a React-ful way.
- The main hook is <inline-code>useWidgetState<inline-code>. It handles persistence of state in a single chat. If a user navigates to a different chat or refreshes their browser tab, state will be loaded quickly from this stored widget state.
- <inline-code>const toolOutput: { todos: Todo[] } = useWidgetProps();<inline-code> is how <inline-code>structuredContent<inline-code> passed in by the <inline-code>listTodos<inline-code> tool call is read in the frontend. <inline-code>toolOutput<inline-code> is only defined when the widget is initially rendered!
- The <inline-code>api<inline-code> client and <inline-code>useAction<inline-code> hook are used to create and update todos. Using the API client directly is much faster than making a tool call.
This is all that’s required to build your app! Now you can test it out.
Testing your todo list
To test your todo list:
- Go back to your app in ChatGPT’s Settings and Refresh. You should see your todo actions listed after the refresh is complete.
- Open a new chat, add your tool as a source and ask ChatGPT to “Use my app to list my todos”. (It is helpful to be explicit about using the app when testing.)
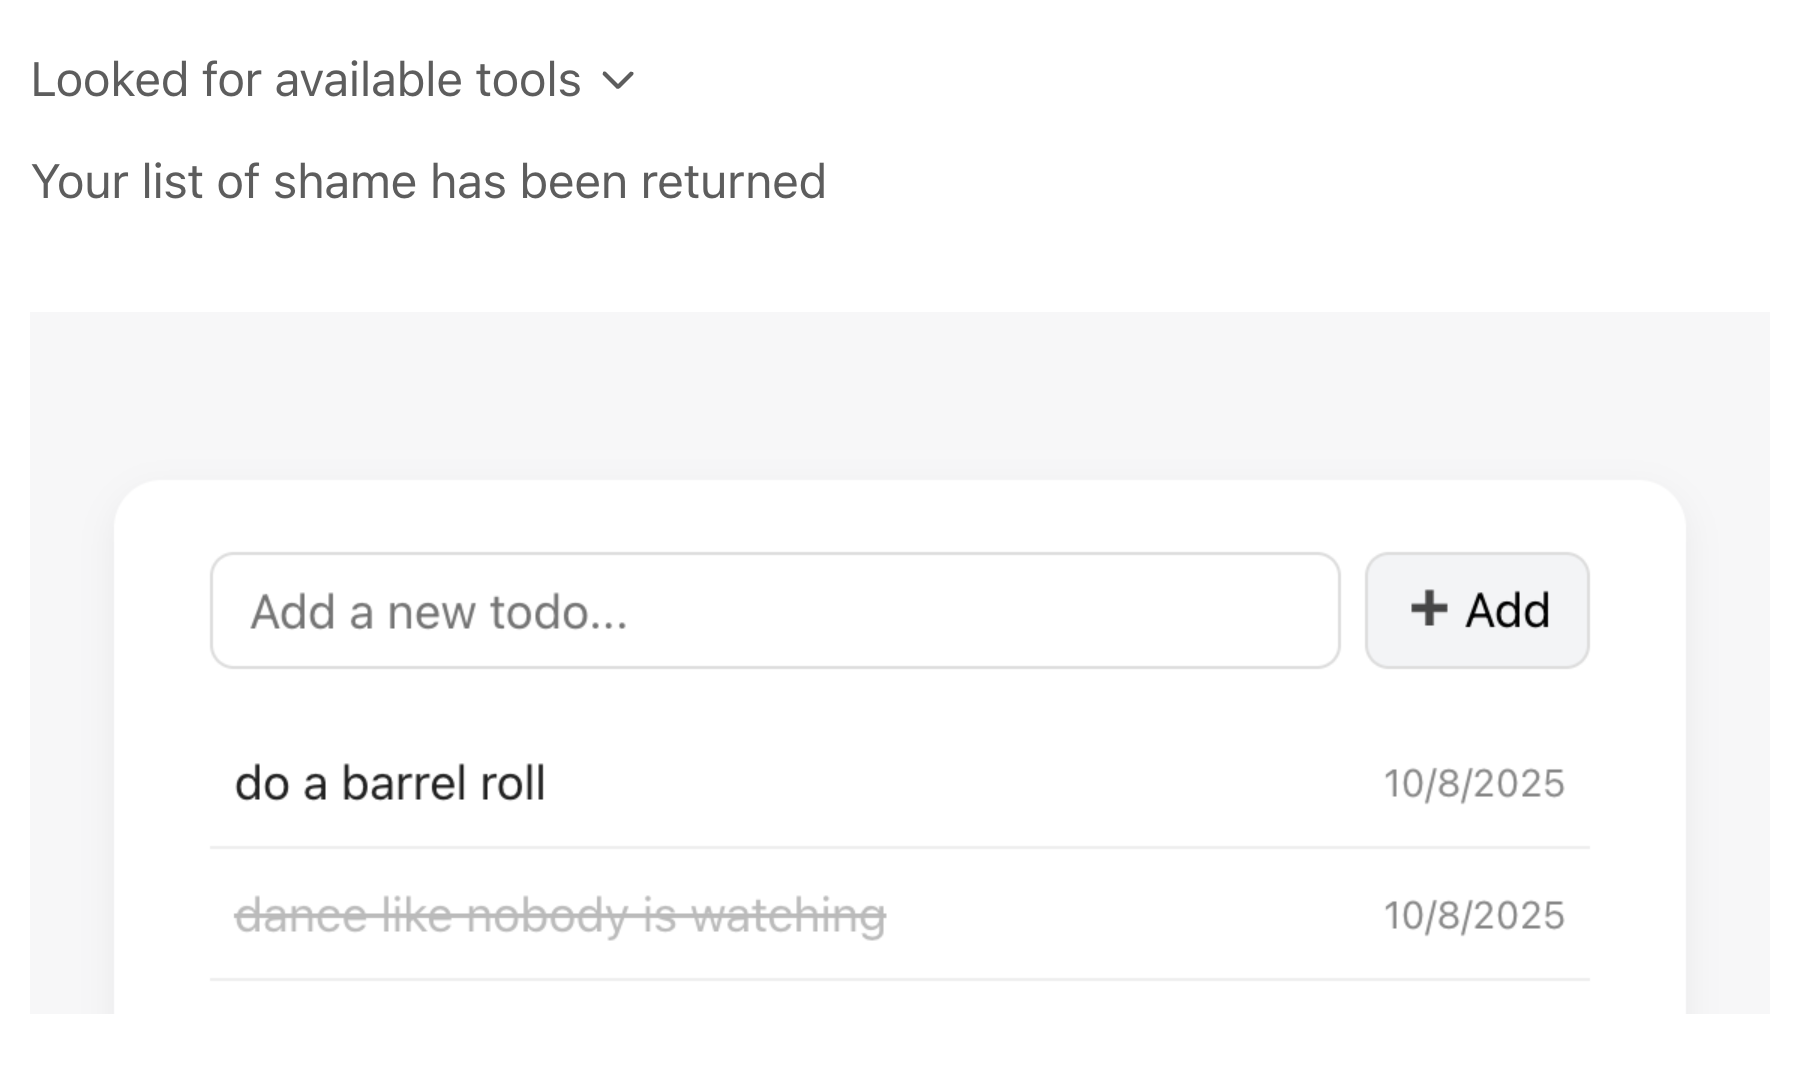
- The todo list should appear in ChatGPT! Try adding a todo, and marking it as complete.
- Adding and completing todos is done non-optimisticly.
- When you add todos and mark them as completed, notice that data is persisted to your Gadget db at <inline-code>api/models/todo/data<inline-code>. The todo records are associated with a user, so multi-tenancy is working!
- Adding and completing todos is done non-optimisticly.
- Try refreshing you chat, or leave and come back. You todo list should re-appear with its current state intact.
Congrats! You’ve built an app (and not just any app, a todo list) in ChatGPT!
What’s next?
We’re going to continue to update our template and this tutorial as we build out more tooling for ChatGPT apps in Gadget.
Managed OAuth is coming soon! Right now, all the OAuth code exists in your app. We are building a ChatGPT app connection that handles OAuth, similar to Gadget’s Shopify and BigCommerce connections.
Have questions?
We’ll be updating our docs with more info as we get better acquainted with building ChatGPT apps.
Hop in our developer Discord if you have any questions for us. We’re always happy to help!


