How to work with Shopify Themes as an App Developer (Part 1): Detecting Online Store 1.0 vs 2.0 Themes
Update (August 2025)
We've wrapped theme detection up in a utility function that can be imported into your Gadget apps. You can use it to determine the theme version for each page of a store's theme:
You can use <inline-code>determineShopThemeVersion()<inline-code> to determine whether or not a theme app extension can be installed on a page in a storefront.
See the docs for more information.
Original post
Shopify applications often contain user interfaces that shoppers can interact with (e.g a quiz that shoppers complete, which then recommends products). These interfaces typically live on the Shopify storefront, which means that they need to be added to the merchants theme assets using Shopify’s APIs.
However, the process of building and embedding interfaces into Shopify storefronts can be quite tricky. There are over two million Shopify stores, each utilizing a unique set of themes, with custom modifications layered on top. If your application is trying to embed an interface, you’ll need to ensure that it can be safely added to any theme, regardless of its type and any customizations it may already have in place.
In this two-part blog post, I’ll show you how to build your Shopify app so that your embedded interfaces work across the millions of unique storefronts that they may be installed on. In this first post, we’ll cover the different theme types, and how to detect and classify them. In a subsequent post, I’ll show you how to inject your user interface into various Shopify themes, and verify that the interface has been enabled by the merchant.
A tale of two themes
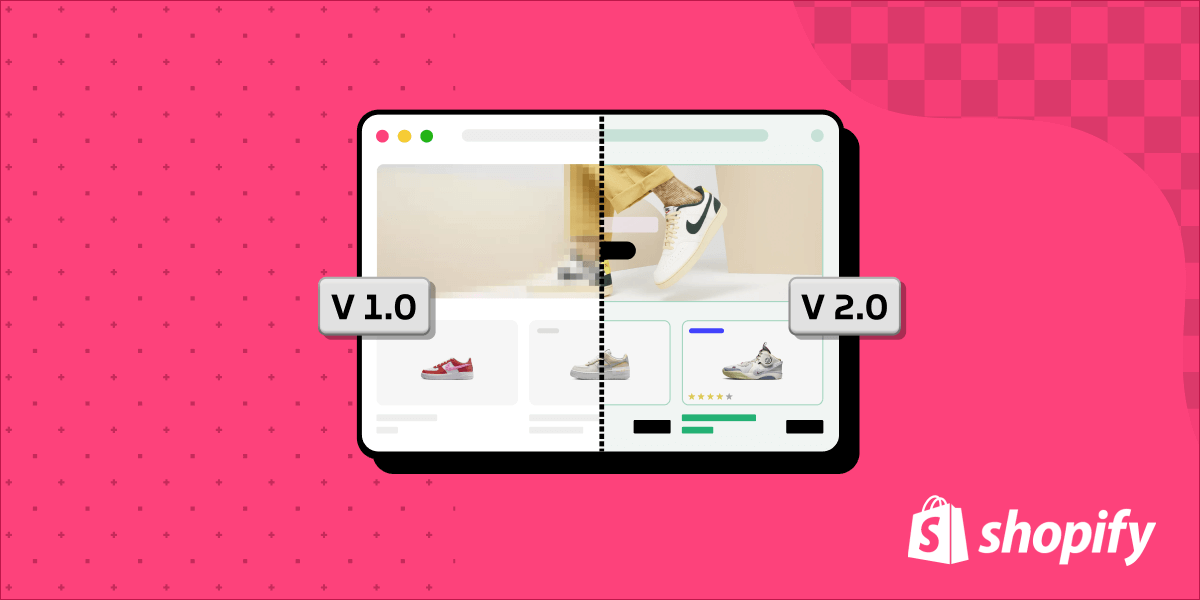
One of the biggest challenges app developers face when looking to add user interfaces to Shopify stores, is that there are two distinct types of themes, often referred to as “1.0 themes” and “2.0 themes”, that merchants can deploy to their storefronts. 1.0 themes were the first set of themes released by Shopify and its ecosystem of theme developers. These themes were limited in design customization options and lacked the advanced capabilities of their successor, but were a great addition to the ecosystem as they could be quickly installed, and further customized, by Shopify merchants.
On the other hand, Shopify 2.0 themes are more advanced and offer a wider range of customization options. These themes are designed to provide a more polished and professional look to the online store and come with built-in responsive design, meaning the store will look great on any device. In addition, Shopify 2.0 themes offer improved performance and faster load times, which can positively impact a store's search engine ranking.
One of the biggest differences between these distinct theme types has to do with how they are customized by apps. With 1.0 themes, the primary method of adding an interface to a Shopify store was to either leverage the Script Tags API, which comes with many limitations, or ask the merchant to customize their liquid files, which are the underlying templates that determine the structure of the store. An app developer would often provide detailed instructions for the merchant, as the process involved copy/pasting code into their theme’s liquid file. This process is confusing and error prone, as most Shopify merchants are not developers and therefore not comfortable interacting with code, and troubleshooting any issues that arise. With 2.0 themes, Shopify solved this problem by introducing “app blocks”. App blocks enable developers to safely and predictably embed their application’s user interface in designated areas of a Shopify theme via a REST API, without needing the merchant to directly edit their theme’s code.
While 2.0 themes are increasingly the new norm, the reality is that many of Shopify’s two million merchants are still running stores with 1.0 themes installed. This means that the onus is on the app developer to correctly detect what type of theme the merchant has setup, and what type of strategy to use to embed the interface into their storefront.
Detecting 1.0 vs 2.0 themes programmatically
To decide how to integrate your user interface with a given store, you need to detect what version of the online store a merchant is using. Normally, you want to do this detection as soon as your application is installed, so that you can either programmatically embed your interface using App Blocks and App Embed Blocks, or provide the merchant with installation instructions that allow them to customize their 1.0 theme’s liquid files.
Shopify provides some sample code for how to do this in node.js, as part of their Product Reviews sample app. Their approach involves downloading a list of active themes from a Shopify store, fetching all of the assets for each of the active themes, and then parsing the theme to look for assets that are only used by 2.0 themes, such as <inline-code>templates/product.json<inline-code> (because 1.0 themes do not use these .json assets).

Note: A single Shopify store can have multiple active themes installed at the same time. This means that a store can have both 1.0 and 2.0 themes and assets in their store. Because of this, it’s important to run your detection on a per-asset level, as opposed to a per-store level.
If a <inline-code>templates/product.json<inline-code> file is detected, the code parses it and checks for any sections that accept app blocks that can be used to embed your application’s interface.
While this sample code is a useful starting point, it’s 100 lines long and does not handle key requirements such as Shopify’s API rate limits, which are easy to exceed when you’re fetching all of the assets from a store.
Theme detection, the Gadget way
Lucky for us, Gadget gives us a very easy way to run our theme detection code on all of a merchant’s theme assets, as soon as our application is installed. We need to add a little bit of code to the right Actions, and use Gadget’s built-in Sync API to fetch and review each asset. To do this, we connect our application to Shopify, and select the <inline-code>Themes<inline-code> and <inline-code>Assets<inline-code> models, which Gadget will instantly replicate into our project.
New to Gadget? Use our Shopify connection guide to learn how to set up a Shopify app in 5 minutes.
When connecting to Shopify, Gadget will always copy over a <inline-code>shopifyShop<inline-code> model which comes with a set of Actions that react to Shopify’s app installation webhooks. We’ll want to use this model to teach Gadget to fetch all of the themes and assets for a store as soon as they install our app. To do this, we add the following code file to the <inline-code>install<inline-code> action of the <inline-code>shopifyShop<inline-code> model:
This file will execute anytime our app receives a shop installation webhook, notifying us that someone has just installed our app. The file then instructs Gadget to use the Sync API to fetch all the themes and assets for the shop that just happened to install our application. These themes and assets will be loaded into their respective models as records.
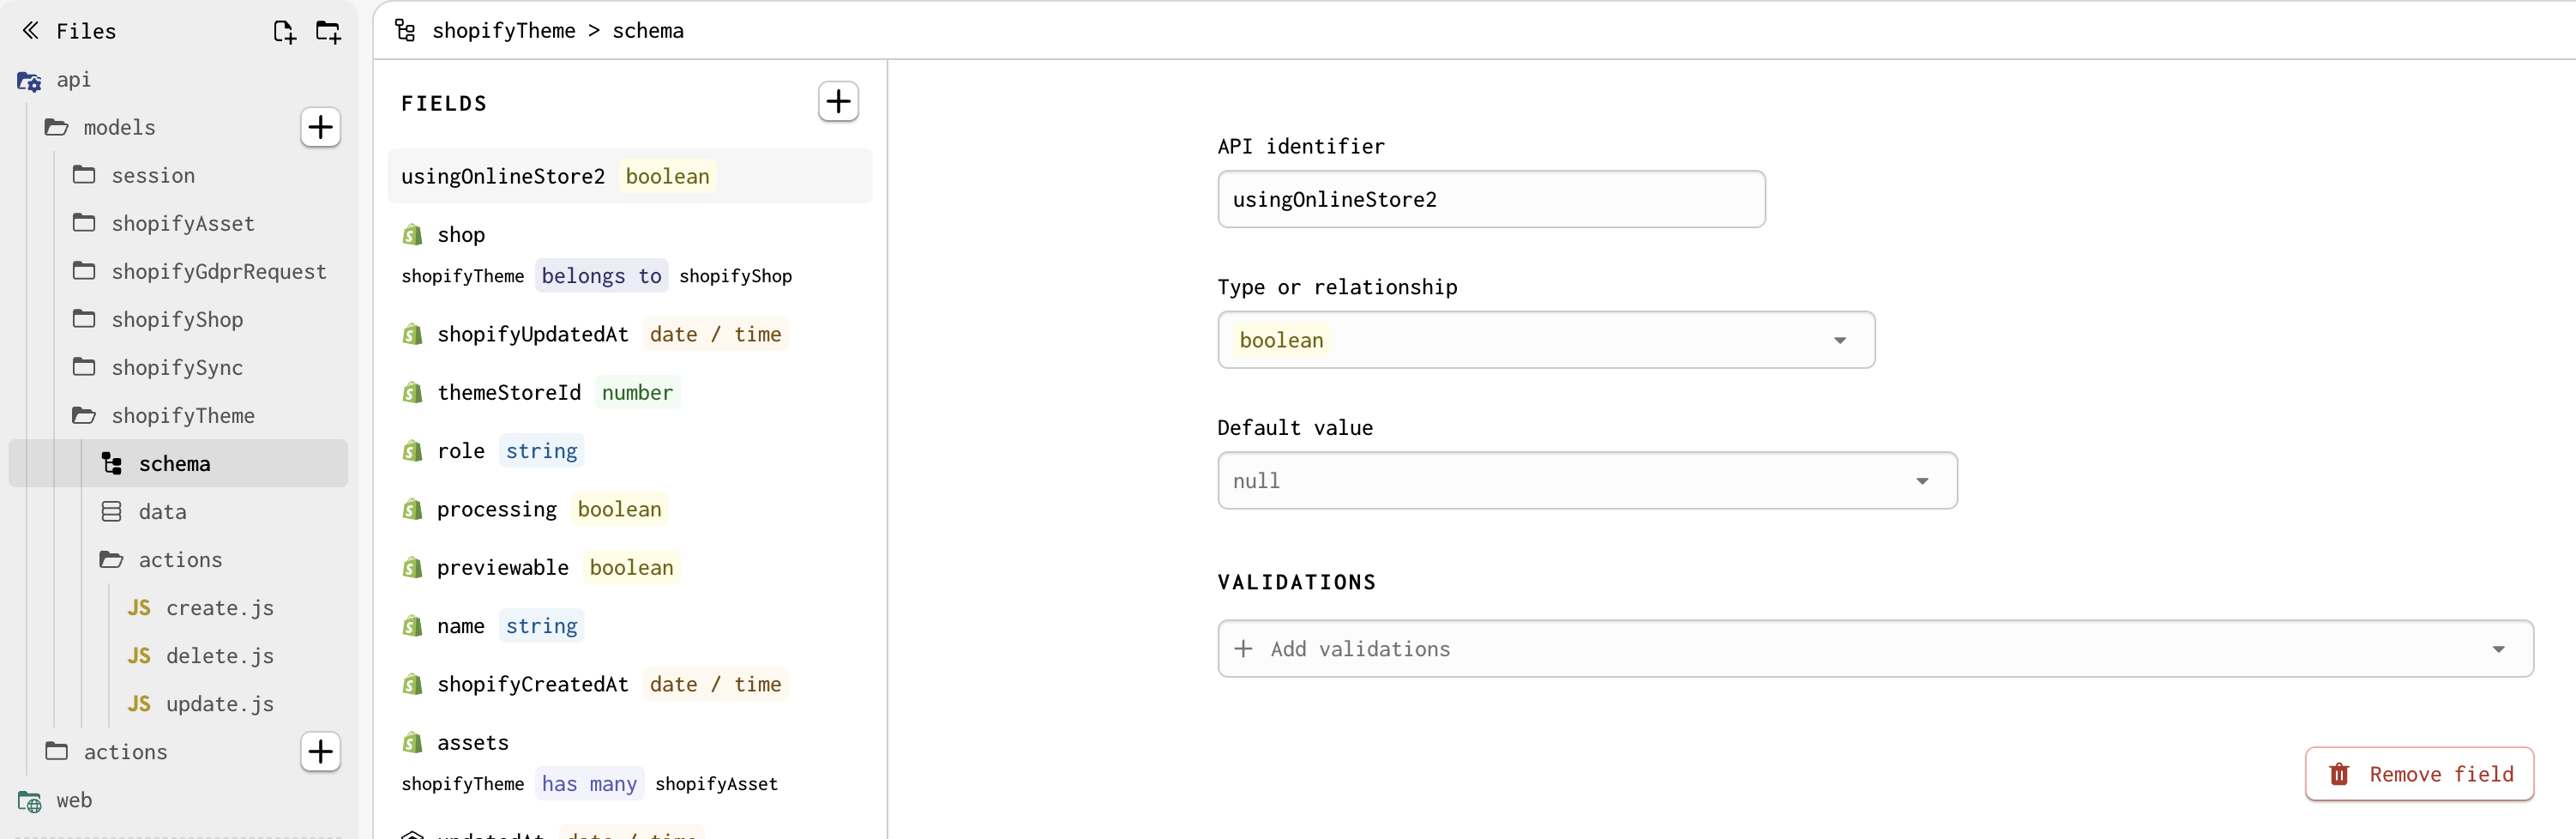
Next, we’ll want a place to store information about whether a theme is 1.0 or 2.0. We’re going to store this information directly on the <inline-code>shopifyTheme<inline-code> model in Gadget, by adding an additional field to the table, called <inline-code>usingOnlineStore2<inline-code>. We’ll give this field a <inline-code>boolean<inline-code> type, because we’ll simply be storing a true/false value. Adding this field to the <inline-code>shopifyTheme<inline-code>, instead of the <inline-code>shopifyAsset<inline-code> model, makes sense because if any of the assets of a theme give us an indication that they’re part of a 2.0 theme, we can infer the same to be true of the entire theme and all of its assets.
Finally, we need to add in the actual logic that iterates through each asset and determines whether it belongs to a 2.0 theme. This code file will need to be added to the <inline-code>create<inline-code> action of the <inline-code>shopifyAsset<inline-code> model, and will run as the asset records are being sync’d to our Gadget app via the Sync API call that will happen upon installation.
Similar to Shopify’s sample code, this file simply looks through each asset and inspects the url path by looking at the <inline-code>key<inline-code> param from the incoming webhook. If the path starts with “templates/” and ends with “.json”, we know the asset belongs to a 2.0 theme. If this is the case, we use Gadget’s autogenerated API to flip the value of the <inline-code>usingOnlineStore2<inline-code> field from false to true.
With all of our code files in place, we simply need to install our Gadget app on a Shopify store. Once the installation is completed by the merchant, the app installation webhook will trigger our code files, in the order we instructed, review each asset, and tag the merchant’s themes as being 2.0, or not.
The real story here is Gadget’s built-in Sync API, which makes this entire experience a breeze. We didn’t have to worry about dealing with Shopify’s rate limits when fetching the assets, and can rely on Gadget’s built in capabilities, saving us tons of time.
In my next blog post, I cover how to embed your application’s frontend back into Shopify, for both 1.0 and 2.0 themes. Click here to keep reading!
About the author
Mircea is a freelance software developer, passionate about accessibility and performance. He helps clients of all sizes, building accessible and performant online experiences. You will find him blogging, sharing tips, and code on his website Sections.Design.